AE Story Stamp - Prompts

Hi everyone!

I want to share the layout I made using Ali Edwards' new Story Stamp subscription & monthly class.


The assignment was to use one of the prompts on the stamps as a story starter for a layout. After seeing this photo of my kids (who were definitely not thrilled with having their picture taken), it made me think about how the relationship they now have as young adults is growing and changing. The prompt "I want to remember" stuck in my head and I decided to use that prompt as the basis for my layout.

I started by using a cluster stamping technique. I placed a variety of stamps from this month's set on a large acrylic block like so:


Using StazOn Ink in Dove Grey, I stamped multiple images on the top half of an 8 1/2 x 11 sheet of white card stock. This particular grey ink was light enough to make the design subtle for a background.


Because "I Want To Remember" is the theme of this layout, I highlighted the phrase with a pale yellow gelato stick and then went over it with a wet paintbrush to make it look like watercolor. The effect is subtle, yet still makes the phrase stand out among all the other phrases.

I used a minimal amount of embellishments surrounding the photo. To finish it off, I stitched the bottom border and the Thickers title to add some dimension and stability for the Thickers. These chipboard Thickers tend to fall off after a while & I wanted to make sure they stayed put!


I really love how this background turned out! I think the key to making sure it doesn't look to "busy" is the use of a less-vibrant ink. A strong ink color would just overwhelm the layout.

And check out Ali's Story Stamp subscription!!!! :)

Throwback Thursday - My First Layout

Yup - here it is - my very first layout!


Isn't it amazing??????

(and yes, I'm being sarcastic!)

If you read my post here on practicing techniques before you scrap, this is what I came up with after several weeks of playing with pics of my nieces and nephews. I put this layout together in the summer of 2008, when sticker-sneeze and cutting photos into shapes were on their way out as popular techniques. I think I did a good job of using color, especially color blocking with solid papers. I like how I did the title. And, I like how I did less of the "sticker sneeze" and more grouping stickers into purposeful layouts.

My design, however, sucked! There is no clear focal point photo, no direction to lead the eye, and nothing visually anchoring the photos and embellishments to the page.
But, you know what? Scrapbooking is an ongoing learning experience. I've been doing this for six years now. Each layout I complete is a stepping stone to a better layout. And when I'm in my 80s and still scrapbooking, I'll still be learning and growing.

There is no finality to our hobby. Even the scrapbooking goddesses out there are still learning and growing.

The Ankle Saga

blurred for your comfort

Poor Alyssa has had the year from hell as far as her ankle is concerned!

She sprained the heck out of it during a soccer game in July, 2013. She wasn't able to walk on it without support & had to wear one of those big black walking boots for about 3 weeks. After that time, her doctor told her to just "keep walking on it" and it would eventually heal.

After that, she could walk OK, but her ankle never felt stable and she wasn't able to run like she used to. It certainly never returned to normal as her doctor had promised.

Throughout the spring of this year, Alyssa's ankle kept getting worse and worse and she began to have pain in other parts of her foot that weren't affected by the initial sprain. So, she went to a different doctor, who immediately prescribed physical therapy.

The therapist examined her ankle and said "there's no way that therapy is going to fix this." She had Alyssa's doctor order an MRI, which showed her outer ligaments stretched beyond repair.

It was surgery time!

Her procedure was done on Aug. 11. The doctor tightened up the ligaments, reattached them to her ankle bone, and then stitched her back up. She was put in a splint & told to stay off the ankle for 2 weeks.

Those first two weeks were totally miserable. Alyssa had problems with nausea, low appetite, and fatigue, not to mention a sense of total helplessness. She is one who isn't used to relying on other people to do stuff for her and it was making her mad! She would come up with these brilliant solutions to work around her crutches, like sticking a can of soda down her shirt to carry it to her room. I would ask if she wanted help and she'd say "no, I've got it!"


Two weeks after surgery, I took her in to get her splint off, stitches out, and to be fitted for a walking boot. She was then allowed to put weight on her ankle with the intent of being weaned off the crutches. That took her two days. And MAN, does she feel so much better not being reliant on other people.

Alyssa will still be in her boot for another 6 weeks or so. She can now stand for a few minutes unsupported without the boot, which thrills her but scares the crap out of me! Each day is getting a little bit better and better. She's just praying it doesn't snow before she can start wearing shoes again!

Zack's Vehicle Adventure


Zack is now a car owner!

Ever since he got his license last year, he's been on the hunt for his own car. It's been difficult, though, seeing as his work hours have been varied and he has his other household expenses to deal with. In order to get to work, he's been taking the bus, but if he had to work late, we'd have to go pick him up. His social life was totally dependent on his friends being able to provide transportation.

When taking Alyssa back to school after her ankle surgery, she mentioned that her boyfriend's dad was selling his old Jeep Cherokee. Its a 1999 vehicle with 180,000 miles on it, but she said it's in great condition, plus he was asking only $2750 for it! I texted Zack immediately - CALL THIS GUY!!!! That night, after I returned home, Zack was at our house doing his laundry. I gave him the phone number and had him call.

The next night, Zack and I, along with Zack's Grandpa, went to look at the vehicle. Seeing as its a 1999 vehicle, I figured it would be rather beat up. But, no, I was pleasantly surprised! This Jeep looked fantastic! The body is in great condition, the interior is spotless, and the engine purrs like a kitten! This was too great of a deal to pass up!

So, Zack is now the proud owner of a 1999 Jeep Cherokee. He's now putting together a winter survival kit (blankets, shovel, sand, etc) and learning what it takes to keep up a vehicle like this. He calls it "his project."

And we no longer have to go out at 10pm on weekend nights to pick Zack up from work!

Beginning Back-To-Basics Scrapbooking: Practice Before You Cut & Glue

A much belated post in my Beginning Back-To-Basics series - I know!

This week, we're going to look at how you can practice scrapbooking techniques before you use your actual pictures.

Before I made my first bona-fide scrapbook page, I used school pictures of my nieces and nephews to practice techniques. Now, this isn't to say that pics of my in-laws' adorable children aren't important. Using school pictures (or Christmas card pictures, etc) is nice because all you have to focus on is just the photo & technique - no journaling, etc.

Here are some examples of my practice pages:


Genius works of art, aren't they?

But here's a few things I learned from these pages:

  1. I learned about colors & how to choose papers based on the colors in my photos.
  2. I learned about matting photos.
  3. I learned how to print text "mirror-image" on my computer and cut out letters with a craft knife.
So, this is my tip for you this week: use photos that you don't intend to scrap to make practice pages. You'll learn a lot, plus those pages will give you something to look back on and smile. 

Happy Scrapping!

Zumba Class 8/9 Track List

Here's the playlist I used in class this morning. Links to purchase music on iTunes are included for available songs.

Alena's 9Min-130Bpm WarmUp - DJ Baddmixx
Menea la Pera (Merengue) - BIP
Fuego (Cumbia) - Kumbia Kings
Grita Gol (Batucada) - Zumba Fitness
Salorien (Rumba Flamenca/Belly Dance) - Zumba Fitness
Del Puente Pa' Alla (Salsa) - Charlie Zaa
Rumba Buena (Batucada) - Zumba Fitness
Toma Reggaeton (Reggaeton) - Zumba Fitness
Boom (Merengue Electronico) - Grupo Treo
Blin Blin (Flamenco/Salsa) - Zumba Fitness
Fire - "Glee" Cast
Drops of Jupiter - Train

Beginning Back-To-Basics Scrapbooking: All You Need Is....

So you've got the itch to make pretty scrapbook layouts, but when you Google "scrapbooking," all these gorgeous, time-consuming, artistic layouts made with supplies & techniques you've never heard of pop up. It's enough to make you say "screw it!"

Believe me - I've been scrapping for 6 years, and I get those feelings too!

But then I remind myself - all you need to make pretty layouts is three items:


(1) Patterned paper and/or card stock; (2) photos; and (3) a pen for journaling.

That's it!

(I should add a 4th thing - you'll need some type of adhesive to make your photo stick down.)

I'm going to walk you through the process of how to make a layout using these 3 items, plus a few embellishments.

First, you need a photo.


I'm going to use just one photo for this layout. This is a selfie I took when I was substitute teaching in an art class. 

Look closely at your photo. What is the dominant color in your photo? Once you find your dominant color, select a piece of patterned paper or card stock in that color. In my photo, the dominant color is a greenish-blueish color, so I'm going to use that color as my background paper.

I found this paper from American Crafts Dear Lizzy "Daydreamer" line. It has that same greenish-blueish color in it, although it is a little bit lighter than the colors in my photo. That's OK. Even if it's lighter or darker, it is still the same color, so it works.


I decided to adhere my background patterned paper to a sheet of white card stock, just to give it a stronger foundation. I cut an inch off the side and off the top of the patterned paper, applied adhesive, and then mounted it in the center of the white card stock. It gives a nice half-inch border around the patterned paper.


If you select a really busy pattern for your paper, you can always mat your photo. Just cut a piece of plain paper or card stock to be just slightly bigger than your photo and adhere your photo to it. That way, it will act as a buffer between your photo and the busy pattern of the paper.


The pattern in my paper isn't that overwhelming, so I decide to place my photo directly on it.


Next I add my journaling. If you use plain card stock instead of patterned paper (or if the pattern is very subtle), you can write your journaling directly there. Because the pattern I chose has a little more substance to it, I chose to use a separate journaling card.

Now, this can be anything! It can be a scrap piece of paper or card stock. It can be a pre-printed card with lines on it. It doesn't matter! The card I used is from Becky Higgins' Project Life line - it's just a plain basic 3x4 card with a grid pattern.


I wanted my card to be as far away from the left edge of the layout as my photo is from the right edge, so I cut off part of my card. I tucked it under the photo at a slight angle (just because I felt like being funky - watch out world!!!!) and wrote my journaling.


Now, your journaling doesn't have to be Pulitzer Prize-quality writing! Just tell your story! Start with the W's: who, what, where, when. Maybe add in some personal touches - how did you feel, etc.

You'll notice my writing isn't anything special, but it gets the point across. That's what matters!


Now, for the final touches: the title & other embellishments:


I usually only use one type of sticker for my titles, but I didn't have enough of the round type stickers to do my whole title. I had the blue stickers in my stash, so I added those to finish my title.

Letter stickers make titles very easy!


One way to make scrapping very easy is to buy your papers and embellishments from the same line. The round letter stickers and the puffy heart I used are all from the Dear Lizzy "Daydreamer" line, just like my patterned paper. That way, you don't have to worry if your things coordinate. The manufacturer already did that for you!

So here's the finished layout. It has the three necessities: paper, photo, journaling. A few embellishments make it pretty and help to tell the story.


And it wasn't hard to do!

Beginning Scrapbooking Series

A discussion has been occurring over on the Paperclipping forums (go check out this fabulous new community!) about things that may discourage people from beginning to scrapbook. One of the more popular theories is that today's styles in scrapbooking are very artsy and heavy on techniques. This can be overwhelming to people who are just starting out - the learning curve can be really high!

So I thought - what about a back to basics approach? Let's teach people the basics of scrapbooking - photos, paper, journaling, maybe a few embellishments. So, this summer, I'm going to be doing a series of blog posts about the basics of scrapbooking. How do you get started? What are the absolutely essential supplies & tools that are needed? How can you dabble in this fabulous hobby without taking out a second mortgage on your home?

If you know of anyone who could be helped by this series, please pass on my blog info!

MIA

Yes, I know it's been quite a while since I've posted anything. I could use the excuses of travel, or spending my time getting caught up on my scrapping, or a zillion other things. But - I've just been lazy. And when I realized I had been lazy, I started procrastinating. I found it hard to face coming back here to post after such a long time.

You know what? That's pretty crazy! So, here I am!

I have some ideas planned for this summer for this blog. Stay tuned....

And I promise it won't be forever when I post again!

Design Team Call - Let's Get Sketchy

I am applying to be a member of the design team for Let's Get Sketchy. If you're new to scrapbooking, or just like the ease of using a sketch, this is a great blog to follow - lots of great inspiration and many challenges to fuel your creativity! Make sure you check them out!


RAK - Project Life Aqua Edition!

Happy Friday, everyone!


I am giving away the following Project Life cards from the Aqua Kit that recently became available at Hobby Lobby. They include one of each of the 3x4 cards and 1 of each of the 4x6 bifold journaling cards.

To be selected - leave a comment below. Winner will be picked on Sunday evening.

Zumba®!!!


Have you tried Zumba®?

You haven't???

Well, you should!

I've been doing Zumba® for almost 4 years now. When I knew for sure that my teaching contract in Custer wasn't going to be renewed, I went on a journey of self-care. There was so much I couldn't control in my life at that moment, but I could control how I took care of myself. I joined Weight Watchers that spring, and then set foot into a Zumba® class during the summer.

I had never felt anything so exhilarating and liberating in my life!

For those who aren't familiar with it, Zumba® is a fitness program based on latin & international dance rhythms. In any Zumba® class, you will do a merengue, salsa, cumbia, and reggaeton along with hip-hop, samba, tango, flamenco, belly dance, etc. Zumba® instructors take basic steps from each of these rhythms and incorporate fitness moves to make a class fun yet "butt-kicking." "Exercise in disguise" is the philosophy.

And I love it!


The moves are slightly provocative (it is Latin dance, after all!), but not in a "slutty" way. I could never imagine shimmying my chest or shaking my butt in any other aspect of my life, yet in Zumba®, it feels totally natural. Zumba® makes me feel strong and powerful, yet sensual and sexy as well. Can you get that from kickboxing???? :)

Two years ago, I became licensed to teach Zumba®  Since then, I've taken trainings to teach Zumba Kids®, Zumba Toning®, Zumba Sentao® (using a chair to tone & sculpt), and will soon be trained to teach the new Zumba Step® program. I teach Zumba® every Saturday morning, and team-teach Zumba Kids® with my buddy Abbi every Wednesday evening. I now probably have more Zumba clothes in my wardrobe than work-appropriate clothes!


Zumba® has changed my life, both physically and mentally. I am more confident in my body. I now have a core group of friends who all share my passion for Zumba®  I have learned so much about Latin cultures through Zumba®, which I am putting to use when I'm in the classroom.

Want to check out a Zumba® class? Click here and enter your zip code. It's that simple! And while you're at it, get yourself a pair of cargo pants with long tassels hanging off the butt. It looks awesome when doing a salsa!

Almost Like A Real Scrapbooker!

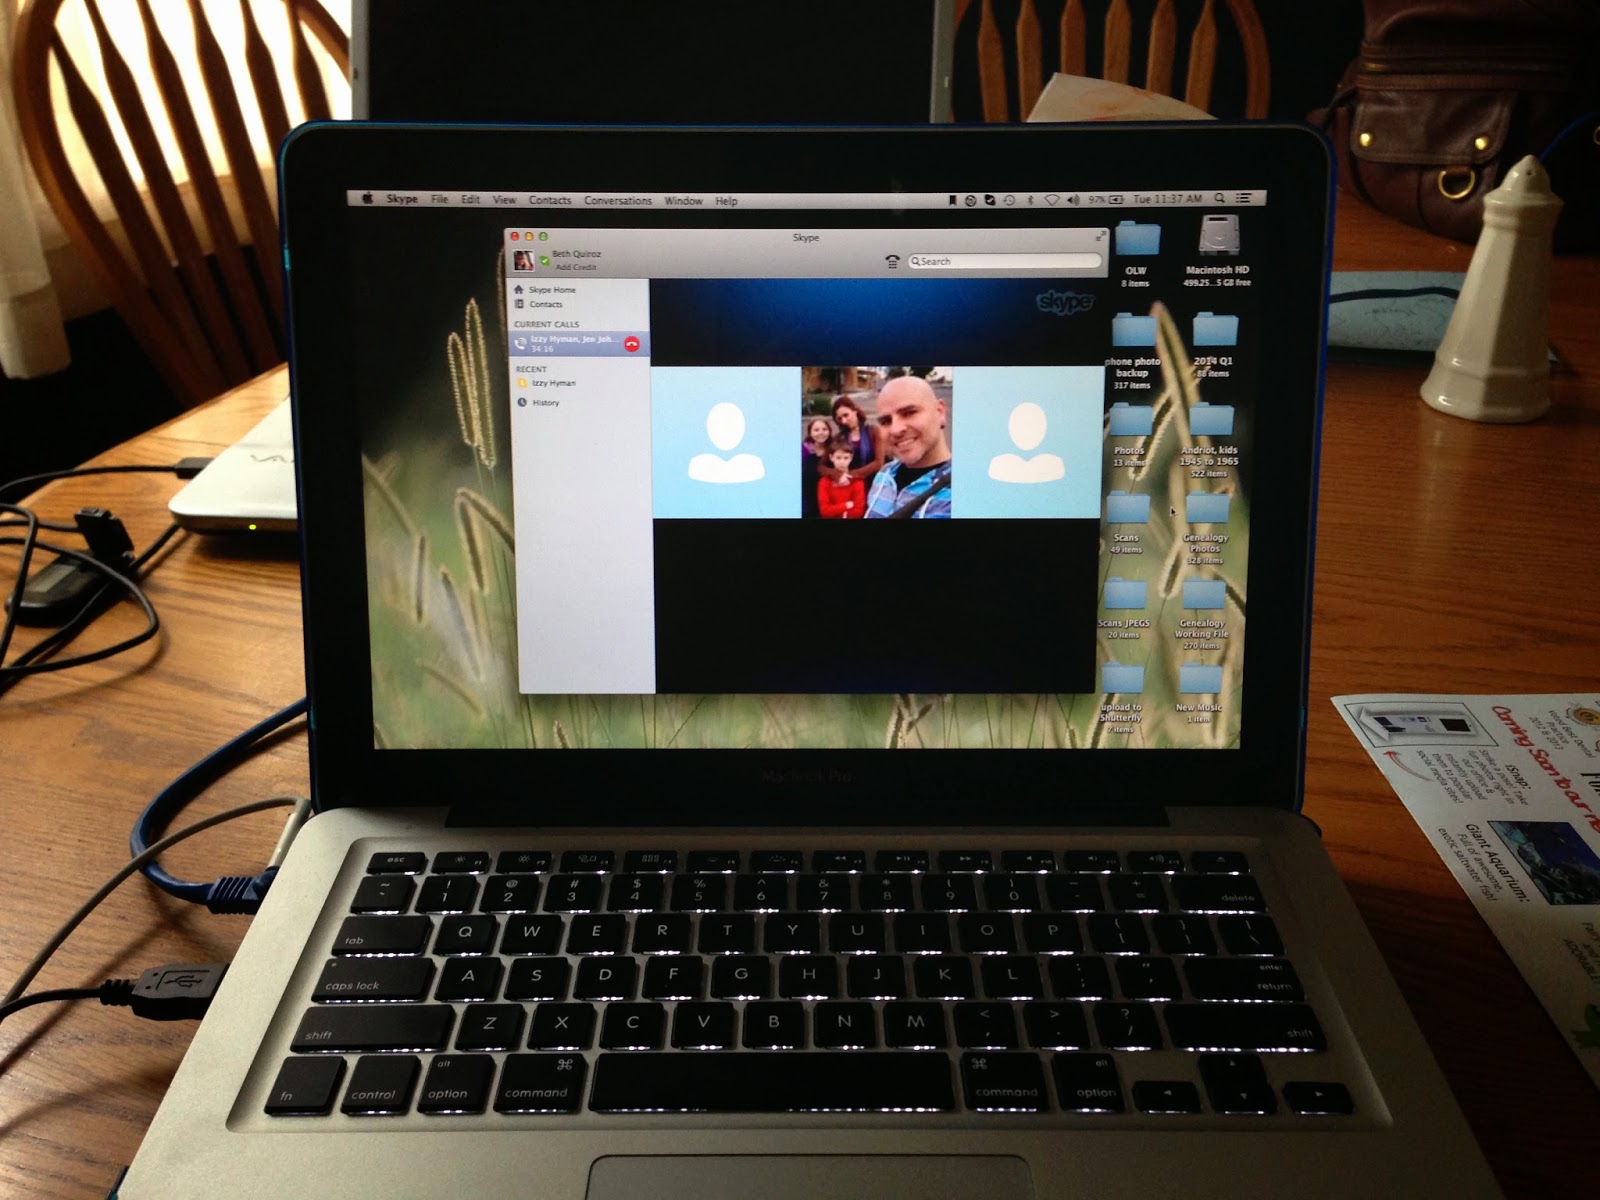
Yesterday, I had an amazing experience - I was a guest panelist on the Paperclipping Roundtable! For those of you outside the scrappy universe, the Roundtable is a podcast recorded by Noell & Izzy Hyman, who usually interview the giants in the scrapbooking industry on the show. But, for this week's episode, they decided to have everyday scrappers on to discuss scrapping our significant others. In particular, they wanted participants who had taken Noell's Romantic Scrapbooking course & who had completed several of the challenges outlined in the course. Well, I met these requirements, so I threw my hat into the ring as a possible participant.

Last Thursday, I got the e-mail I had been waiting for (more accurately, I had been refreshing my e-mail on my phone every 15 minutes), and I had been selected. OH HAPPY JOYOUS DAY!!!! See, I really love this podcast! I stalk iTunes every Tuesday waiting for new episodes and when there are none, I go back and listen to the library of past episodes. The guests they have on are scrapbookers whose influence can be seen on just about every layout I complete. And I was going to join their ranks!!!

Yesterday was the big recording day. I was FREAKING out - so so so nervous! Who am I to offer advice on scrapbooking??? What expertise do I have??? What if I say something stupid, or can't think of anything to say? What if I belch, or cuss, or do something else obnoxious?

Noell & Izzy were so fantastic - they immediately put me at ease! And the other guests they had on - Davida & Jen - were awesome! I got along with everyone so well! By the end of the recording, it felt like we had known each other for years!!! The time went by so fast & I was so sad when the recording ended!

I've listened to the broadcast several times now. And amazingly, I somewhat sound like I know what I'm talking about!!! I made Rob listen to it in the car last night while we were running errands, and he kept giving me that "oh, aren't you cute" look he often gives me when he's amused.

So, if you haven't listened to the podcast, go check it out! I'm the one with the weird, obnoxious laugh! :)


Our Story - Romantic Scrapbooking

As some of you know, I've been taking part in Noell Hyman's Romantic Scrapbooking course. I haven't really kept up on a lot of the challenges - I think, in part, because the story of my marriage and my relationship with my husband is very long. We've been married for 24 years and together for over 25, and there's a lot of story to tell there! When I scrap, I tend to keep my journaling brief, and that doesn't lend itself feasible to a long story like ours.

I met Rob when I first was hired as a crew person at McDonald's in 1987. He had already been working there for a couple of years and was set to leave for college at the end of that summer. We didn't really get to know each other that first summer - in part due to some incorrect first impressions as documented in this layout:


The second summer, however, Rob and I started to get to know each other and realized that those first impressions were totally wrong. Before he left to go back to school, I gave him my address and told him to write to me, really not expecting to get anything in the mail.

I did get letters. On purple stationery (which my mom swears was "a sign.") Before Rob came home for Thanksgiving, he told me exactly when his plane was coming in - and then he just happened to call me 30 minutes after he landed.

We went out on our first date the night after Thanksgiving - he took me to see the movie "Scrooged." His family of 5 people only had one car at the time, so he had to coordinate rides with his brother and sister. One of the most endearing things about that night was waiting in line to use the pay phone at the movie theater - Rob was totally embarrassed! He muttered: "I'm 20 years old and I still have to call Mommy and Daddy for a ride home from the movies!"

Rob came back home for Christmas and that's when things really began to pick up. I was still kind of holding back, though, because I knew he was going to be gone all Spring & didn't want to deal with the heartbreak of a long-distance relationship (I was still in high school at the time). But then, Rob got his report card from the Fall semester and learned that he lost his scholarships due to low grades. He would not be returning to school in the Spring. Although I felt horrible for him, I knew this was a sign to begin taking this relationship seriously.

We became inseparable after that. After I graduated from high school, we began to plan our future - buying a car together, saving to get our own apartment, planning to get married in a few years.

And then I became pregnant.

That changed our plans significantly!

We were married 6 weeks later - in January of 1990.

I was 18 - Rob was 22.

Our son, Zachary, was born in July 1990. I began college full time that fall. Rob was promoted to management at McDonald's and worked the closing shifts so we didn't have to worry about child care.

I became pregnant again in the spring of 1991 and gave birth to our daughter, Alyssa, that November. I remained a full time college student throughout my pregnancy.

Very few people gave our marriage a chance. We were both so young, only together for one year, neither of us sure of what we wanted to do in life. But we knew we wanted to be together more than anything else. I also think that we became determined to make our marriage work because there were so many people who didn't think it would. Rob and I are both very stubborn people!

Our 24 year marriage has endured raising two children, two college degrees, graduate coursework, two changes in careers, one parent with a traumatic brain injury, another with a heart attack, the death of two grandfathers (one 5 days before our wedding!) and two stints of unemployment. We've gone through all of this as partners - and I think that's the way our marriage has worked!

So, thank you for reading this long, rambling story. And maybe I will break this into chunks & work on some more layouts!

Project Life 2014 Week 11


Week 11 was all about family....and home repairs.

Alyssa was home for Spring Break, which was a real treat. I love how important family is to her. She took her Nan out to lunch as a belated birthday present & then her Nan took her shopping afterwards. Alyssa came home with a new griddle, mixer, and an external hard drive.

Alyssa also planned a dinner with the Quiroz clan at Village Inn Pizza - her favorite place on the planet. It was a big, loud affair with lots of pizza consumed.

The other major event was the massive thaw - and the subsequent leak in our roof. We're still waiting for it to dry out enough to seal the hole so we can then repaint the ceiling in the dining room!

Anyways, here's the spread for Week 11:


I used the Azure kit this week. The yellows in the kit went really well with the exterior shots of my house. I wasn't too sure about the design of the cards when I first got them, but now that I see them in a spread, I like the softness of the colors & the minimalistic approach of the designs.

Here's the left side...


The lettering on the title card was cut using my brand spanking new Silhouette Cameo. Sheets of letter stickers with missing "e's" have now been banished from my scrap room!

And the right side...


The gorgeous die cut in the top left pocket is from Studio Calico's Sugar Rush collection. I plan on doing the same die cut for Week 12 using coordinating card stock for whatever PL kit I choose to use.

A social studies teaching job opened up in a town about 20-30 minutes away from my town. Of course I applied - but I'm not holding out any hopes. In small towns like that, they like to hire locally if they're able. And seeing as social studies teachers are a dime a dozen, well, the odds aren't in my favor.

And that's all she wrote for this week!

Project Life Week 10


Week 10 was very uneventful. I guess that's a good thing, right?

So I took the opportunity this week to tell some "everyday life" stories, as well as to provide some commentary on my chosen profession. Or, in other words, I had a mish-mash of photos and had an interesting time trying to come up with a coherent layout.

Let's break it down.....


The left side includes several photos of Zack and Rob in Hastings - their "home away from home." The "keep calm" pic of Zack was so fitting - he sells shoes at Herberger's and has had some very lean sales weeks due to the crappy weather.


The top photo and journal card on the right side of the spread include a commentary on the trend towards online credit recovery for high school students who flunk required classes. As an educator, I'm not sure how I feel about this.

And, I just love this shot of Alyssa in her ski gear!

I used Amy Tangerine's Cut & Paste mini-kit this week. I love how this kit is gender-neutral without feeling "generic." The die cuts are all from the Cut & Paste line, as is the stitching stencil & floss on the journal card next to the picture of Alyssa. Letter stickers are Thickers and Studio Calico. Wood veneers are Studio Calico.

Project Life Weeks 8 & 9 (better late than never)

Like so much of the country, we have had awful weather in Montana the past few weeks. My scrap room is in our basement, which is not the most insulated place in our house. When the temps dip below zero, its really way too cold to do anything in my space, even with the use of a heater.

So, there's my excuse for being late with my Project Life!

Anyway - here's Week 8:


I didn't take a lot of photos this week, so I needed to do some emergency pocket-filling. One pocket got some extended journaling, one pocket got this really cool filler card for the Sochi Olympics, and then I did a quick filler card with one of the first/last page cards from the Kraft core kit with a die cut.  Crisis solved!

Here's the left side....


...and the right side....


I used the Kraft kit this week, along with kraft die cuts from the Studio Calico Sugar Rush kit. Letters on the title card are Amy Tangerine. The Olympics card comes from Melanie Britt's blog. The photo collage card comes from Cathy Zielske via Designer Digitals. Love her templates!

And now for Week 9:


This was the week when the most recent Winter Apocalypse hit. I know we live in Montana and it's supposed to be cold in the winter - but having subzero temperatures on the first of March is unheard of! So, I got a bit snarky with my journaling and photo documentation.


I used the Dear Lizzy Polka Dot Party mini kit this week. I liked the light mint green colors in the kit, which went with the "cold" pictures very well, as well as some of the colors in my other photos.

The letters on the title card are American Crafts Thickers.  The "oh joy" die cut as well as the "celebrate" and "life" die cuts on the right page are from the Dear Lizzy Polka Dot line.  The "hate this winter" letters are Kelly Purkey and the "Bundle Up" flair is a 2 Peas exclusive.


The right side is about celebrations. My mother's 67th birthday was Saturday (the day it stayed below zero - poor thing!) so I included some pics from her celebration. Alyssa had fun celebrating one of her friends' birthday. And Zack....well he decided to do some grocery shopping for himself & I thought that was cute.

It is now much warmer here in the Northern Inter-Mountain West. All that snow we had last week has resulted in flooding this week. And my roof is leaking from all the snow piled on it. Oh joy!

Until next week......

Popular Posts

Like us on Facebook

Flickr Images